Send emails in Node.js using Nodemailer

Building High Performance APIs using AWS and Python.
In my last blog, I talked about uploading files in Node.js using npm-multer.
Here's a link to the blog for your reference.
In this blog, we'll learn to send emails in Node.js using another npm package called the Nodemailer.
If you'd like to check out first here's the official link, nodemailer.com.
Prerequisites:
- JavaScript (ES6 is a +).
Resource - Eloquent JavaScript - Intermediate knowledge of Node.
Resource - Node.js documentation - A text editor of your choice.
Recommended - VSCode.
Alright folks, let me tell you that
First things first, we'll set up our node application.
Let's go now :)
/* In a convenient location, create a project directory */
$ mkdir email-nodemailer
$ cd email-nodemailer
/* Initialize NPM and to avoid default prompt add flag -y */
$ npm init -y
/* Create app.js */
$ touch app.js
Now that we've set up a basic folder structure, we need to install some packages/dependencies as well. On your terminal write,
$ npm i nodemailer express ejs body-parser nodemon --save
Let's see what we just installed
- express: The most popular and starred Node.js framework designed for building web applications and APIs.
nodemailer: A module for Node.js that makes sending emails a piece of cake.- ejs: A simple templating language that lets you generate HTML markup with plain JavaScript.
- body-parser: It is a node.js body parsing middleware which parses incoming request bodies in a middleware before your handlers, available under the
req.bodyproperty. - nodemon: Nodemon basically detects changes in your file and automatically restarts your node application, so you need not start explicitly.
Now, we will require some of these packages in our app.js file.
/* Require modules */
const express = require('express'),
    nodeMailer = require('nodemailer'),
    bodyParser = require('body-parser'),
    app = express(),
    port = process.env.PORT || 2000;

/* view engine specifies the template engine to use */
app.set('view engine', 'ejs');

/* parse application/x-www-form-urlencoded*/
app.use(bodyParser.urlencoded({extended: true}));

/* parse application/json */
app.use(bodyParser.json());

app.get('/', (req, res) => {
    res.render('index');
});

app.listen(port, () => {
    console.log(`Server is listening on Port ${port}`);
});
Now that we've got our basic app.js file set,
We must work on making our basic HTML template.
/* In our root folder */
$ mkdir views
$ touch views/index.ejs
We'll be using Bootstrap as the style framework and add CDN link directly in the index.ejs.
<!DOCTYPE html>
<html lang="en">
<head>
    <meta charset="UTF-8" />
    <meta name="viewport" content="width=device-width, initial-scale=1.0" />
    <link rel="stylesheet" href="https://cdn.jsdelivr.net/npm/bootstrap@4.5.3/dist/css/bootstrap.min.css" integrity="sha384-TX8t27EcRE3e/ihU7zmQxVncDAy5uIKz4rEkgIXeMed4M0jlfIDPvg6uqKI2xXr2" crossorigin="anonymous"
    />
    <title>Nodemailer Example</title>
    </head>
    <body>
        <div class="container mt-4">
        <h3 class="text-center"><i>Send Emails with NodeMailer</i></h3>
        <form action="/sendmail" method="POST">
            <div class="col">
                <div class="form-group col-md-4">
                    <label for="to">To:</label>
                    <input class="form-control" type="email" name="to" />
                </div>
                <div class="form-group col-md-4">
                    <label for="subject">Subject:</label>
                    <input type="text" name="subject" class="form-control" />
                </div>
                <div class="form-group col-md 4">
                    <label for="body">Body:</label>
                    <textarea
                        name="body"
                        class="form-control"
                        cols="5"
                        rows="5"
                    ></textarea>
                </div>
                <div class="form-group col-md-4">
                    <button type="submit" class="btn btn-success">Send Mail</button>
                </div>
            </div>
        </form>
        <footer class="fixed-bottom">
            <h4 class="text-center">With 💖 by Arihant</h4>
        </footer>
    </div>
    </body>
</html>
Let's check if we've been doing okay till now?
Run the command
$ nodemon app
/* Open the browser and check localhost:2000 */
If everything went right then, here's a look at the form
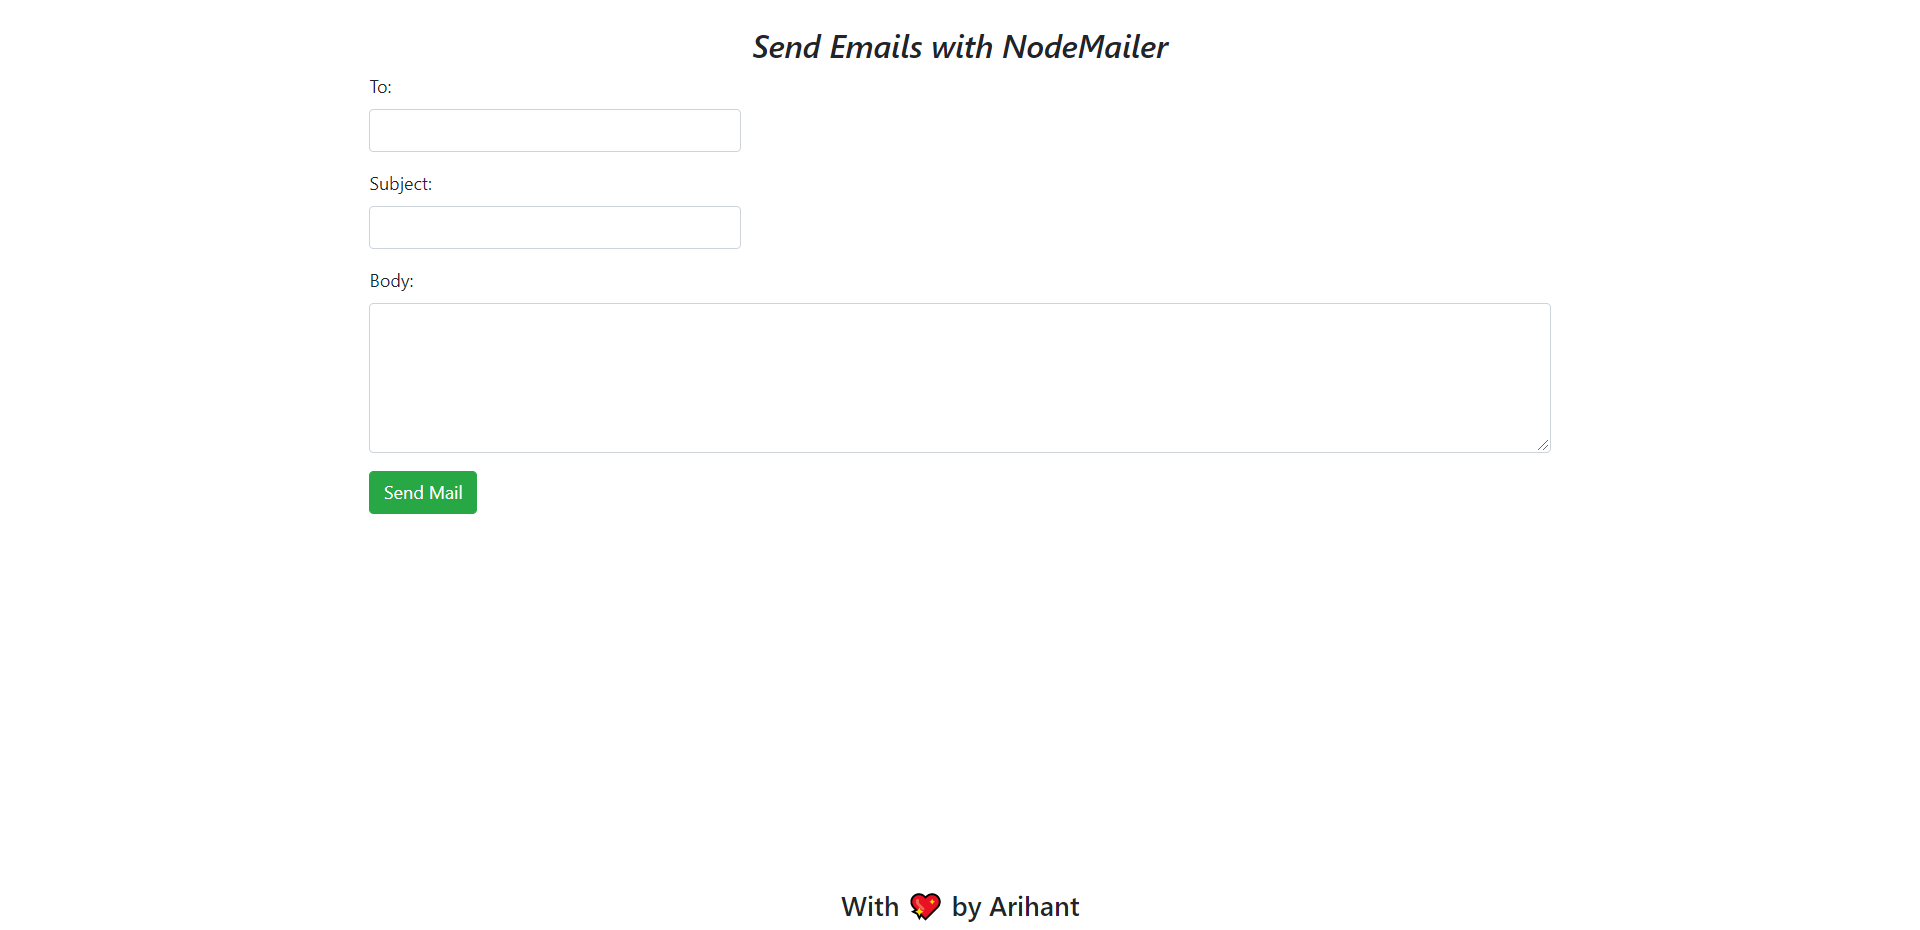
Now the final step, which is to make a route for the post request sent by form and handle its data.
In app.js add the following code,
app.post('/sendmail', (req, res) => {
    let transporter = nodeMailer.createTransport({
        service: 'gmail',
        auth: {
            user: 'yourEmailId',
            pass: 'yourPassword',
        },
    });
        /* send mail with defined transport object */
    let mailOptions = {
        from: "senderEmailId",
        to: req.body.to, // This is the reciever's email address
        subject: req.body.subject,
        body: req.body.body,
        html: req.body.body,
    };
    transporter.sendMail(mailOptions, (err, info) => {
        if (err) {
            return console.log(err);
        } else {
            console.log(info);
            res.render('index');
        }
    });
});
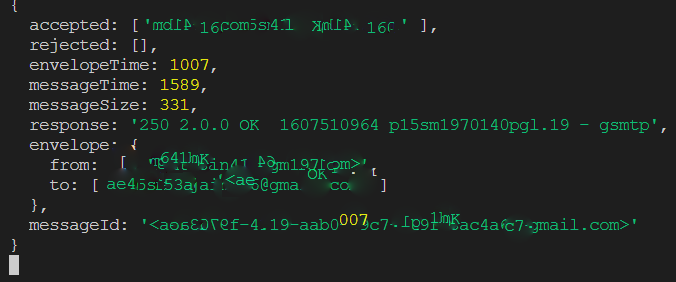
Fill the form data & hit Send Mail. Have a look at your console, to see the status.
If all went well you'll see something like
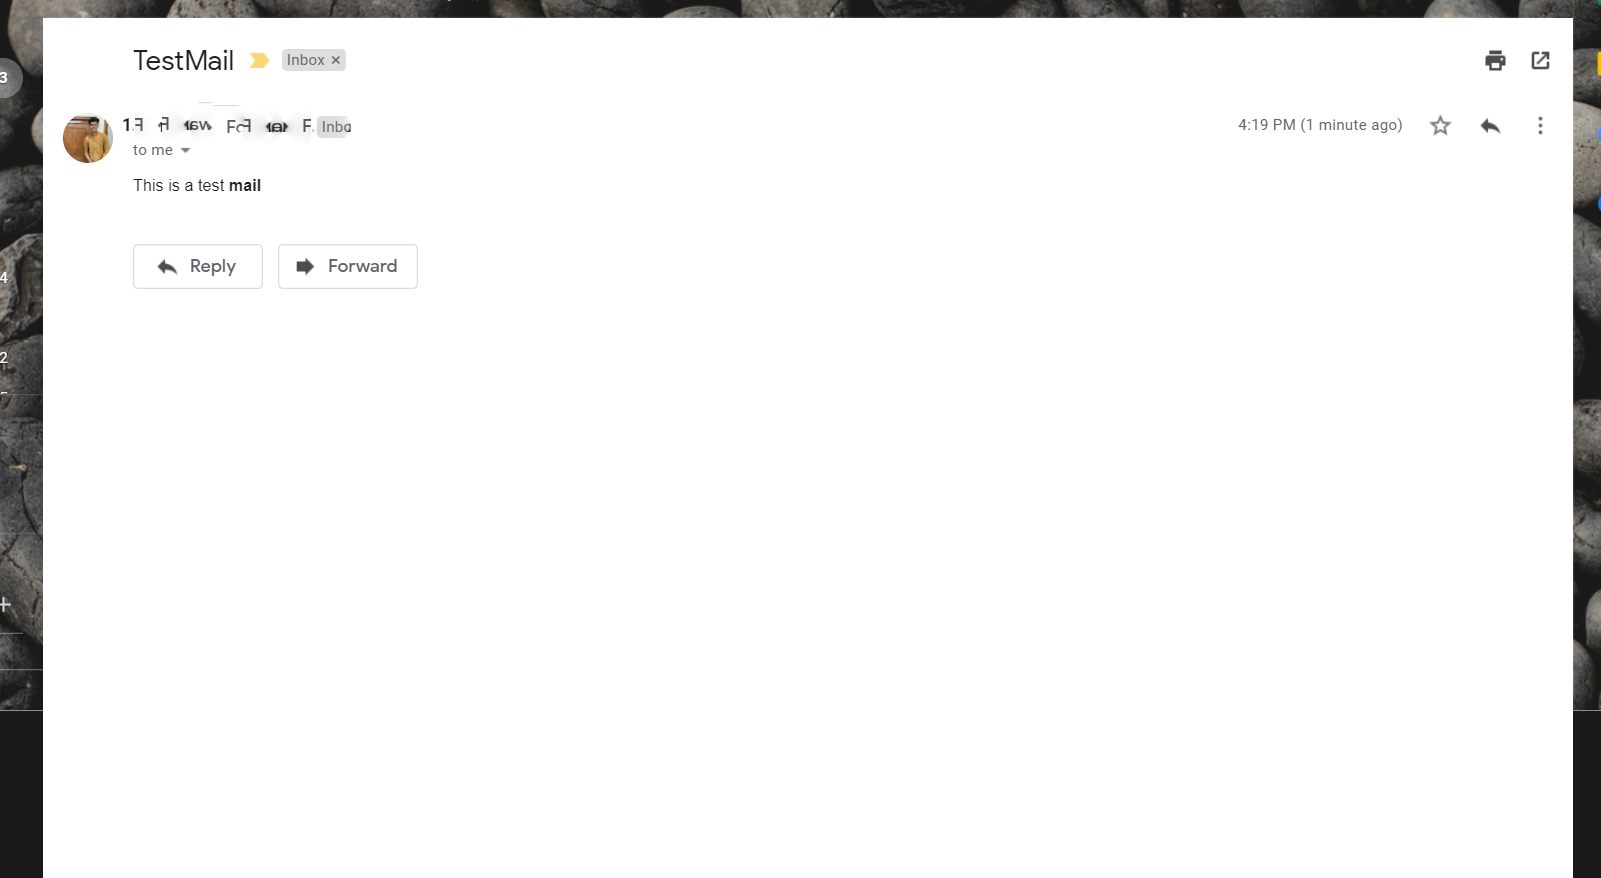
 Check if receiver got your mail.
Voila! I got mine.
Alternatives to Nodemailer
Conclusion
- You can use other mail services as well. I've made use of Gmail in this one.
- You need to change your IMAP settings. Enable it, here's how
- Gmail -> settings -> All settings -> Enable IMAP
- You can find the source code here. Don't forget to give some ✨ to the repository.
I hope this blog finds a way to help you someday.
Adios amigos 💖! Keep developing and be safe.

